Printfriendly

Showing posts with label Fall recipes. Show all posts

Pumpkin Snickerdoodles!!!


If you have ever had a  Snickerdoodle you know they are yummy cookies with just the right touch of cinnamon and spice to them!!!   I started thinking about things to do with pumpkin when I was brainstorming Fall recipes and I thought "Pumpkin Snickerdooles" would be interesting!!!  

I love the 'pumpkin spice' craze we have seen the last few years in the foodie world!   The lattes and frappes, breads, cookies, cakes pies, all of it works for me!!!  However, as I have  told you before, I cook for picky eaters and pumpkin is not on the top of their 'likes' list, so I have to disguise it and make it extra tasty for them to eat it.

 These "Pumpkin Snickerdoodles" passed the test and Mr. Sweet Tea even saw the can of pumpkin on the counter and questioned what I was putting it in.   He said something about why did you have to mess those up with that pumpkin and he would pass on those then...lol!!!   Well, let me tell you, he ate more "Pumpkin Snickerdoodles" than anybody!!! 

These are really yummy!!  They are a soft cookie with just the right amount of spice that is not overwhelming! 

Here is what you will need:

2 cups all purpose flour
1/2 tsp. baking soda
1/2 tsp. baking powder
1/2 tsp. salt
1/2 cup butter, softened to room temperature
1  1/2 cups sugar
1/2 cup canned pumpkin (not pumpkin pie filling)
1 large egg
1/2 tsp. pumpkin pie spice
1/2 tsp. cinnamon
1 tsp. vanilla

1/2 cup sugar
1 tsp. cinnamon


Preheat oven to 350 degrees.

Line two cookie sheets with parchment paper or nonstick aluminum foil.

In a separate bowl, sift together the flour, baking soda, baking powder, and salt.

In a large mixing bowl, cream together the butter and sugar with an electric mixer.   Add in the pumpkin, egg, spices and vanilla.

Add the flour mixture gradually and mix well until a dough forms.


Refrigerate the dough for about 30 minutes before making the cookies!
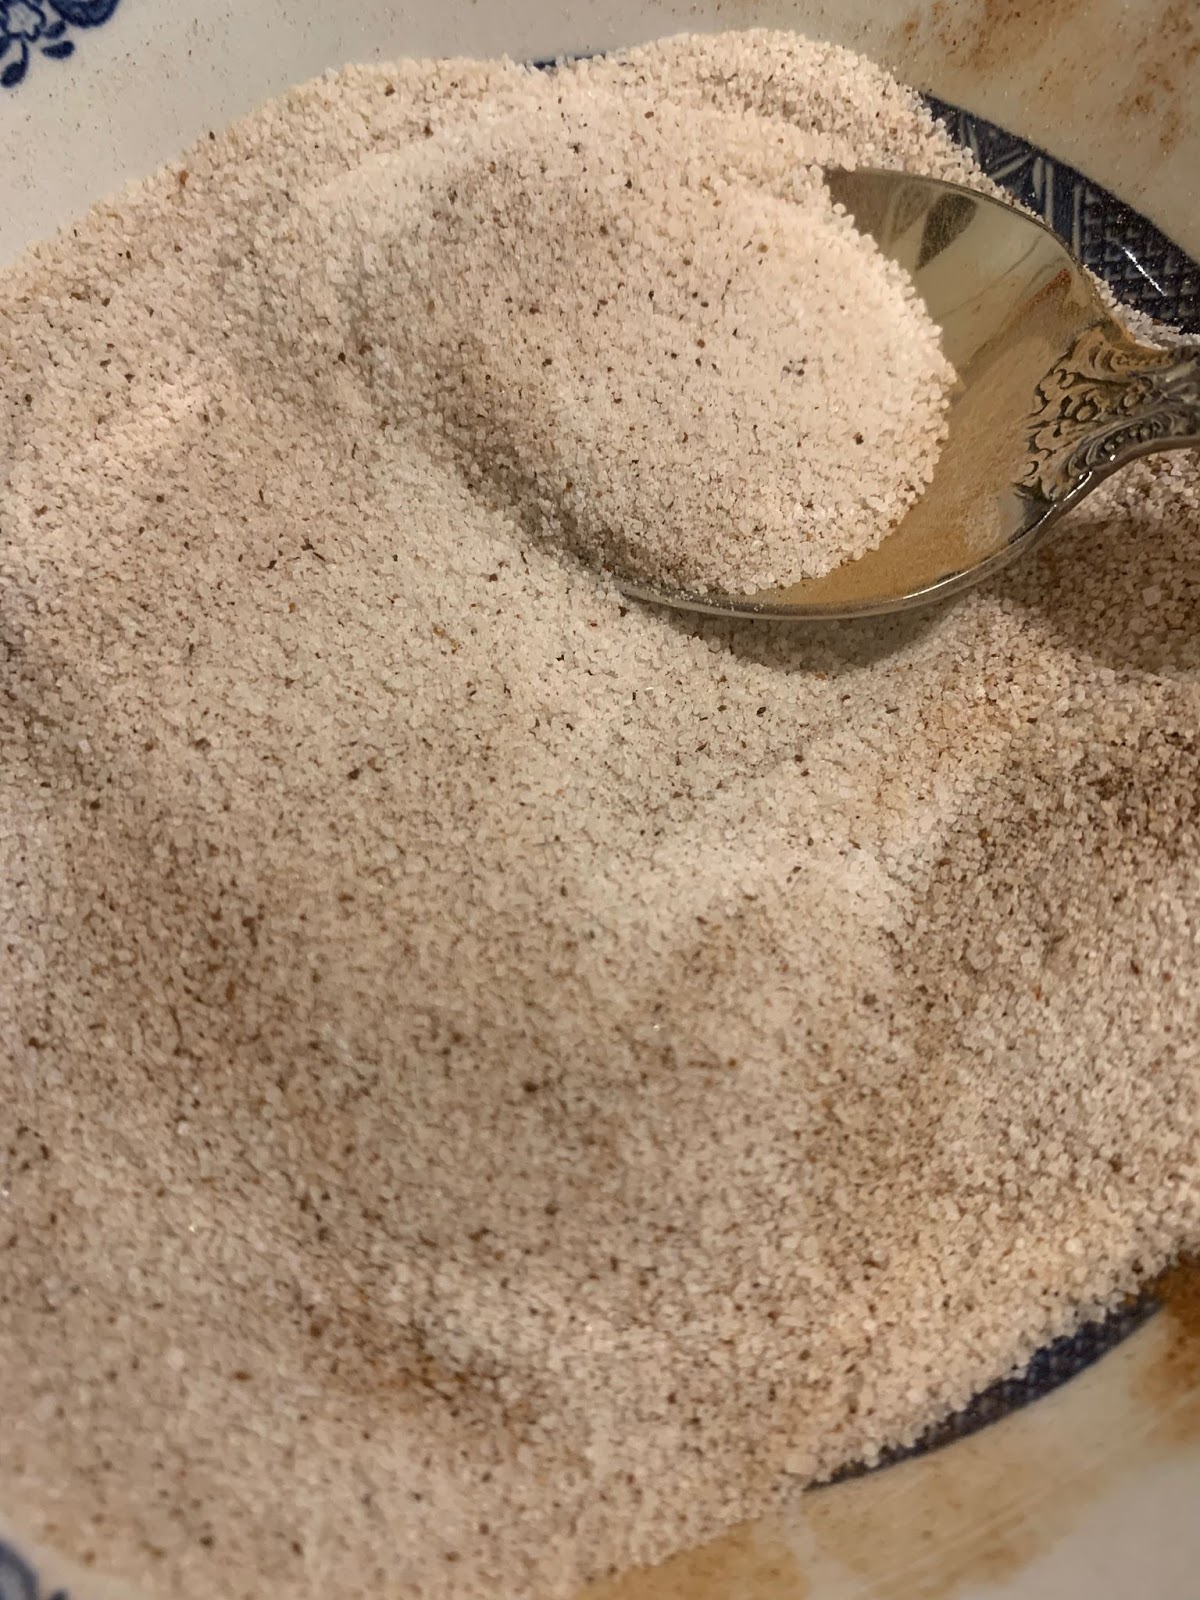


In a separate bowl, mix the sugar and cinnamon.  Scoop the chilled cookie dough and roll into a ball about the size of a small walnut.  Roll in the sugar and cinnamon mixture!


Place on the cookie sheets about an inch apart.  Slightly flatten the cookies.   The bottom of a glass is perfect for this.  Don't flatten them too much, just a little.  Then sprinkle each one with a little more of the sugar mixture.    Place in a preheated 350 degree oven for 11 to 13 minutes.  Remove from oven and allow to cool slightly before removing with a spatula to a plate!


Serve immediately!!!  These are so delicious!!!  


Candy Corn Fudge...only 2 Ingredients!


This "Candy Corn Fudge" is a fun little project to make with the children or for the children or for those that still act like children...lol.  I am thinking of myself when I say this.  This is so easy, because I used the old "2 - Ingredient Fudge" recipe and just added food coloring to make the candy corn effect.  I did have to double the usual recipe to get the layers thick enough, but if you have a really small  square dish, I guess you could make less.

Now, before someone asks... this does not have actual candy corn in it.  It is called 'candy corn fudge' only because it looks like candy corn and I guess it tastes a bit like it too.  The great thing about this is that it tastes better than candy corn to me!   Here is what you will need for this:


2  (12 oz.) bags of white chocolate chips
2 (16 oz,)  cans of vanilla frosting (or any white frosting, I used 1 cream cheese and 1 vanilla)
red and yellow food coloring

Melt the chocolate chips in the microwave.  Microwave them on high for about 2-3 minutes stirring after each minute.  Add the frosting and stir.  Microwave that for another minute or two.   Stir until it is all well blended and smooth.  You can also do this in top of a double boiler.

Line an 8"x 8" baking dish with wax paper or foil.  The Reynolds Wrap nonstick works great for this.


Pour 1/3 of the mixture in the dish for the first, white layer.  Place it in the fridge while you color the rest of the mixture.

Divide the rest of the mixture in half and tint one orange and one yellow.  


Remove the white layer from the fridge and pour the orange next over the white layer.  Pour it in rows, so you don't have to do much spreading it around.  Pour the yellow layer over the orange, last.  If the mixture starts to get too thick to pour, just stick it back in the microwave for a few seconds and stir.  Cover and refrigerate for at least 3-4 hours.


Turn it out on a cutting board and peel the foil off.  With a sharp knife cut it in rows. 


Gently lift the piece and turn it on it's side.  Cut in triangle shaped "candy corn' pieces.  You will have to trim up edges of the rows that were on the outside of the baking dish.  Use a dish with the straightest sides if you have one.  Kids and husbands will be more than happy to eat the trimmings!
You will notice that every other piece is not in the right color order of white, orange, yellow, but only the pickiest of people will notice that. 


The rows are also not real uniform either, but I looked at some pretty upscale candy corn (can candy corn be upscale...lol) and their rows were not so uniform either, so I was ok with it!
If you don't want to worry over cutting these candy corn shapes, cut it in squares and slap a piece of candy corn on top and it's still cute!

Candy Corn Fudge...only 2 ingredients!


This "Candy Corn Fudge" is a fun little project to make with the children or for the children or for those that still act like children...lol.  I am thinking of myself when I say this.  This is so easy, because I used the old "2 - Ingredient Fudge" recipe and just added food coloring to make the candy corn effect.  I did have to double the usual recipe to get the layers thick enough, but if you have a really small  square dish, I guess you could make less.
 
Now, before someone asks... this does not have actual candy corn in it.  It is called 'candy corn fudge' only because it looks like candy corn and I guess it tastes a bit like it too.  The great thing about this is that it tastes better than candy corn to me!   Here is what you will need for this:
 
 
2  (12 oz.) bags of white chocolate chips
2 (16 oz,)  cans of vanilla frosting (or any white frosting, I used 1 cream cheese and 1 vanilla)
red and yellow food coloring
 
Melt the chocolate chips in the microwave.  Microwave them on high for about 2-3 minutes stirring after each minute.  Add the frosting and stir.  Microwave that for another minute or two.   Stir until it is all well blended and smooth.  You can also do this in top of a double boiler.
 
Line an 8"x 8" baking dish with wax paper or foil.  The Reynolds Wrap nonstick works great for this.
 
Pour 1/3 of the mixture in the dish for the first, white layer.  Place it in the fridge while you color the rest of the mixture.
 
Divide the rest of the mixture in half and tint one orange and one yellow.  
 
Remove the white layer from the fridge and pour the orange next over the white layer.  Pour it in rows, so you don't have to do much spreading it around.  Pour the yellow layer over the orange, last.  If the mixture starts to get too thick to pour, just stick it back in the microwave for a few seconds and stir.  Cover and refrigerate for at least 3-4 hours.
Turn it out on a cutting board and peel the foil off.  With a sharp knife cut it in rows. 
 
Gently lift the piece and turn it on it's side.  Cut in triangle shaped "candy corn' pieces.  You will have to trim up edges of the rows that were on the outside of the baking dish.  Use a dish with the straightest sides if you have one.  Kids and husbands will be more than happy to eat the trimmings!
 
You will notice that every other piece is not in the right color order of white, orange, yellow, but only the pickiest of people will notice that. 
 
The rows are also not real uniform either, but I looked at some pretty upscale candy corn (can candy corn be upscale...lol) and their rows were not so uniform either, so I was ok with it!
 
If you don't want to worry over cutting these candy corn shapes, cut it in squares and slap a piece of candy corn on top and it's still cute!


FOLLOW ME HERE ON FACEBOOK FOR DAILY POSTS:

Follow Me on Pinterest